If you are a DIYer and interested to hang certain items securely on the plasterboard walls then you have come to the right place. We will discuss in this post how can you hang your mirrors, pictures and shelves on your wall.
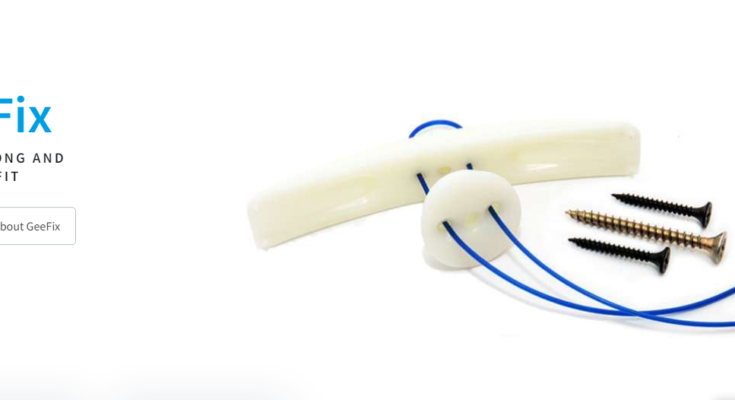
Plasterboard fixings offer superior wall attachment compared to screws or adhesives, protecting both walls and attached items. They secure by either screwing into the plasterboard or anchoring on the other side to provide robust support. You can visit Geefix’s website to explore a few ideas, too.
Your options for plasterboard fixings
1. Self-drive
Self-driving plasterboard fixings feature an outer thread for wall insertion and a screw. Drill a 2mm or 3mm pilot hole before driving the thread into the plasterboard. Ideal for lighter weights up to 20kg.
2. Plastic toggle
Plastic toggles, inserted into pre-drilled holes, collapse to pass through the plasterboard and expand on the other side, anchoring in place. Suitable for light fittings, they hold up to 5kg, also on ceilings for lighter weights.
3. Rubber anchor nut
Plastic toggles, inserted into pre-drilled holes, expand to anchor securely in plasterboard. Ideal for light fittings, they support up to 5kg, including on ceilings for lighter loads.
4. Rosett cavity fixings
Rosett cavity fixings, comprising an anchor and screw, are designed for heavier loads. Inserted into pre-drilled holes, the nylon frame flattens against the plasterboard when tightened, securely fastening the anchor. Supports approximately 80kg.
5. Hollow wall anchor
Hollow wall anchors, comprising an anchor and screw, expand on the plasterboard’s other side to support heavier weights. Install manually or with a setting tool, pre-drilling a hole as specified. Supports up to 50kg.
6. Solid wall fixings
For solid walls like brick or concrete, use expanding masonry bolts, metal anchors or frame fixings to securely attach items. Proper wall preparation and selecting the correct fixing are crucial. Careful drilling, anchor securing, and weight consideration are essential.
Tips for plasterboard fixings Installation
To ensure successful plasterboard fixing installation, follow these key tips:
1. Drilling holes
Use an appropriate drill bit size and drill holes deep enough to accommodate the fixing. Create a clearance hole slightly larger than the fixing, then insert and secure it with a hammer or screwdriver.
2. Securing anchors
After drilling, insert anchors and tighten them with a screwdriver until secure. Avoid over-tightening to prevent plasterboard damage.
3. Affixing items
Ensure items are firmly attached and fixings aligned properly. Use suitable screws or bolts and consider weight distribution and wall type.
Best practices to ensure a secure hold
To ensure a secure hold with plasterboard fixings, consider weight distribution, anchor points, and regular maintenance. Proper weight distribution spreads pressure evenly across the plasterboard, increasing its capacity to support attached items.
Use multiple fixings to distribute weight over a larger area, preventing overburdening in any one spot.
Anchor points, such as metal cavity anchors or snap toggle wall anchors, provide a secure base for fixings. Install them by drilling holes, securing anchors, and attaching items.
Regular maintenance is essential. Check fixings for wear and tear, replacing any damaged or loose ones to maintain plasterboard safety and longevity.


